DIY Cement Countertops a Good Project? You Decide.


My husband and I have been buying, improving and selling our homes for years. Our boys knew how to roof before they were in middle school. Since we are avid DIYers we thought that cement countertops would be a breeze….NOT! We dove into this project like any other–It did not intimidate us in the least, and frankly, it should have. The project was physically hard, terribly messy and more expensive than we had thought. Once you start, you cannot quit, and it takes a least three people working together to accomplish it. Fortunately for us, our son is a body builder and could tote five-gallon buckets of cement all day, and he did. Greg (my humorous, good-natured husband) toweled and spread the product. My job was to tape the plastic over the floor, sink, cabinets, doors and walls and help sand, seal and gripe. Looking back, I should have covered the cars as well!
Here is the supply list for the job: 30 bags of cement, cement colorant, cement emulsifier, mortar conversion, Durock, wire mesh, countertop edge forms, faucet plugs, rented cement mixer, trowels, vibrating sander, rotary sander (diamond wet sander is better if you want to spend even more money than you expected), hand sander, a lot of plastic, hours of time, Internet or video education and rubber gloves (so that you leave no finger prints on your victims). Oh yeah, a sledge hammer if you get exasperated.
Here is a briefing on how to create a cement countertop:
- Install the Durock counter surface
- Screw the wire to the Durock (which us geniuses forgot to do until the wet mess had been poured), so the wire floated to the top and peaked out at us until we tunneled through the poured cement and fastened it to the Durock
- Mix the cement, colorant and additive in the cement mixer
- Tote the stuff in a five-gallon bucket and pour onto the counter surface
- Trowel it smooth and level
- Pat (or beat) the entire surface with flat, gloved hands to remove air bubbles
- Vibrate the counter edge to ensure no air pockets on the edges
- Let it dry overnight
- Sand the surface for days and days
- Vacuum the countertop and wipe clean
- Mix and paint the noxious chemical sealant and paint it on the surface
- Stay away and let the stinky stuff dry
- Vacuum the entire house including the ceilings and wash the gray cement dust off of the cars in the driveway!
I must say that I hated the counters until….every living creature that came to my house absolutely loved them!!!****//// I have to admit that now I do too. I love the slate gray color, the thick two-inch profile, the matte gloss, the carefree maintenance and the fact that it is not granite! Would I ever do it again? Not if my life depended on it!
Do you like to DIY? Homeowners and professional designers are invited to enter Atlanta Home Improvement’s annual “Decorating on a Dime” Contest now through Nov. 9, 2012. Winners will be featured in the February 2013 issue of Atlanta Home Improvement magazine and take home some fabulous prizes. Check out the winning projects from last year’s competition!

Build a four-season deck and patio with Atlanta’s custom deck builder
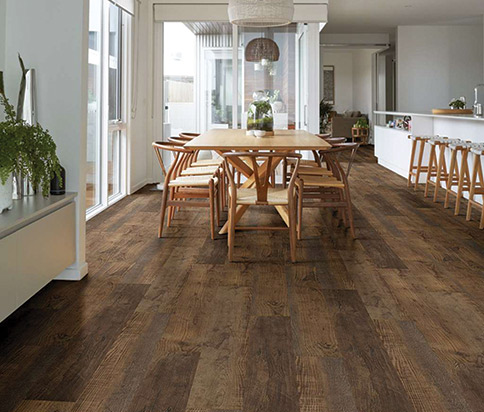
Looking For New Floors? Meet Flooring Specialists Don and Elisabeth Stubbs

Sofa Buying Guide
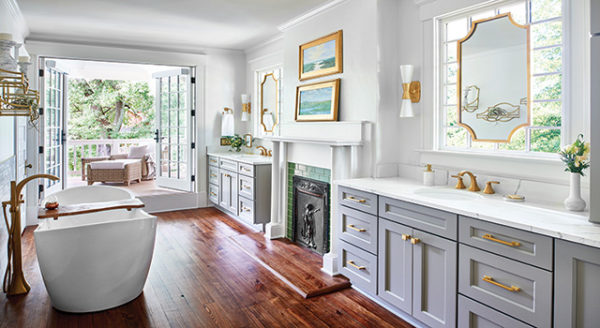
Award-Winning Kitchens, Baths, Interior Design and More
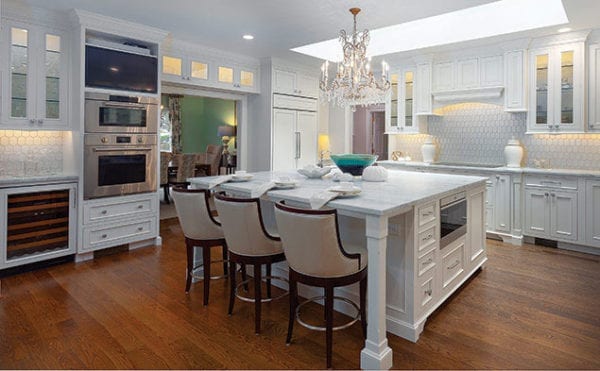
Atlanta’s NKBA Designs of Distinction 2019 Winners

100 Things to Know Before You Remodel

What’s the simplest way to upgrade your window treatments?
