Looking Good

Living in a city or urban area, you use every precious square foot possible—and heaven forbid that you give up a parking space. A rooftop deck is not a rarity, but a rooftop deck on your garage is genius. Not only does it provide you with additional living space, it also preserves your garage’s roof by reducing its exposure to the sun. The following step-by-step instructions will help you turn your garage roof into a warm-weather retreat.
 |
 |
Structural considerations
If your garage has brick walls, they shouldn’t require additional work for this project. However, many city garages are frame construction and may need stronger walls. For example, if your wall studs are 24 inches from center to center (OC), then you need to add an additional stud to get to 12 inches OC. Garages built at 16 inches OC should be good to go.
Deconstruction process
Remove the existing roof. This step is very easy if you have the typical hip roof (sloping up from all four sides), but is a bit more labor if it’s a gable (sloping to a peak from just two sides, meaning you have to remove the top part of two walls). Next, using material from the roof, rip 2-by-4 or 2-by-6 diagonal shapes from the material to create pieces to nail onto the wall-top plates. Nailing these pieces on top of each other will give your new flat roof adequate drainage with as little slope as 1/8-inch per foot. So, if your garage is 24 feet deep, you will be adding 3 inches of material at the high side. Be sure to drain away from your house, toward the street or alleyway.
Materials needed
A great product for constructing the roof is TrimJoist. This is an open-web truss that is made like an I-joist for 1 foot at each end, allowing it to be field-trimmed. TrimJoists are available in lengths and depths to span even a three-car garage. I-joists are readily available and work well too. Check with your local lumber dealer to make sure you are using the proper size and spacing.
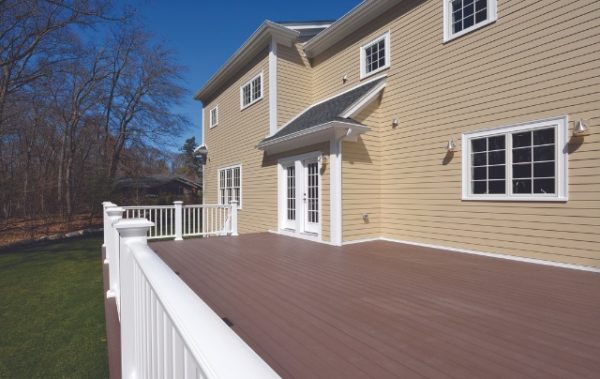
The choices of materials for your deck are abundant. Treated lumber, composites and tropical hardwoods are all fine choices. Let your choice of railing and design features be a guide for choosing materials that are readily available for the deck and features like seating, latticework and stairs.
Construction process
Before you begin to build, sheathe the roof with either 5/8-inch or 3/4-inch tongue-and-groove strand board. Next, you’re ready for the roofing material. If you are doing this step yourself, 15-pound felt covered with 90-pound roll roofing will get the job done. If you are using a roofing professional, a modified bitumen or rubberized roof is the way to go.
To install a level deck on your sloping roof, use a cushioning material such as asphalt expansion joint. This will ensure that your deck lumber will not sink into and damage your roofing. Another key to a strong, safe deck is the use of proper anchors and fasteners. Be sure to use the recommended nails and screws appropriate to the deck materials you have chosen. Also, use post anchors such as those from Simpson Strong-Tie to make sure your railings are rigid and safe.
Depending on the location of your garage in relation to your house, you may even be able to build a deck out your back door and connect it to the garage deck. With some seating, a grill and your favorite people, you can spend many warm-weather evenings and weekends enjoying a bit of suburb in the city.
Safety First |
 To ensure the safety of your deck, hire an experienced, trustworthy professional to work on as much of this project as possible. The National Association of the Remodeling Industry (NARI) is a great resource for finding local, qualified professionals. To ensure the safety of your deck, hire an experienced, trustworthy professional to work on as much of this project as possible. The National Association of the Remodeling Industry (NARI) is a great resource for finding local, qualified professionals. |


Discover Your Tile Style

A Kitchen to Accommodate

Southern Roots

Award-Winning Kitchens, Baths, Interior Design and More
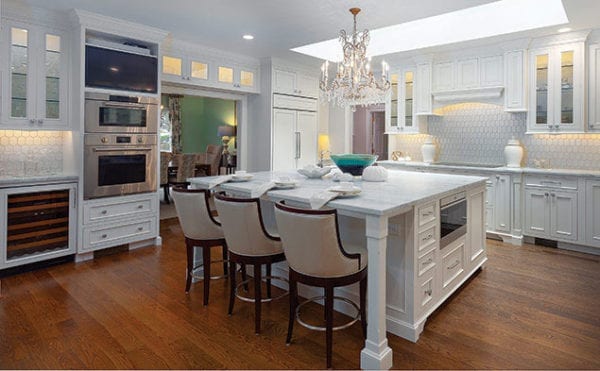
Atlanta’s NKBA Designs of Distinction 2019 Winners

100 Things to Know Before You Remodel

What’s the simplest way to upgrade your window treatments?
